

If you need to create printed materials such as logos, illustrations, and flyers, one of the tools you can use to create them is Adobe Illustrator. Illustrator is ideal for creating figures and printed materials, and is widely used by everyone from the printing industry to the web industry, and from graphic designers to illustration production professionals.
For those who want to learn the basics of how to use Illustrator and make full use of it, we will explain the basics, including how to use it, its name, and the steps to start using it.
What is Illustrator?
Adobe Illustrator is a piece of software produced by the American manufacturer Adobe. Adobe manufactures software such as image editing, and in addition to Illustrator, it also sells software such as Adobe Photoshop, Adobe Premiere Pro, Adobe After Effects, Adobe InDesign, and Adobe Acrobat.
Also, speaking of Adobe, it is famous for its “PDF files” that can be viewed using Acrobat Reader. You’ve probably used it at least once.
Of these, Illustrator is software suitable for creating illustrations that combine lines and shapes, as well as creating and designing layouts that combine text and images. In addition to illustrators, it is used by a wide range of professionals who use computer graphics, such as graphic designers and DTP designers.
Illustrator can be used to create designs for logos, illustrations, web content such as banners and SNS posts, and printed materials such as business cards, flyers, and posters.
Related article:
Explaining Illustrator! I will also teach you the meaning of using it as a job.
What can you do with Illustrator?
Illustrator allows you to do many different things. Let me show you exactly what you can do.
Can create vector images
Illustrator can create images called vector images. Vector images are made up of points, lines, and curves. The relationship between shapes is determined by mathematical equations, so even if you increase or decrease the size of the image, the quality will not deteriorate, such as blurring. Vector images are used to design logos, text and illustrations for printed materials such as pamphlets and posters. On the other hand, photographic images are called “raster images” rather than vector images.
A raster image is an image that is made up of a grid of objects called pixels. Each pixel contains color information such as tone and gradation.
When you scale a raster image, unlike vector images, you are shrinking or expanding the pixels themselves, resulting in a blurry image. Adobe Photoshop is software that can process this raster image. Raster images are the best format for photography.
Illustrator allows you to create vector images. There you can mainly do the following:
1. Create a logo A logo is a graphic that is often scaled or changed in some colors. Therefore, raster images are suitable. Illustrator is great for creating logos. You can create logos with a wide variety of shapes by combining shapes and text, or by transforming the text.
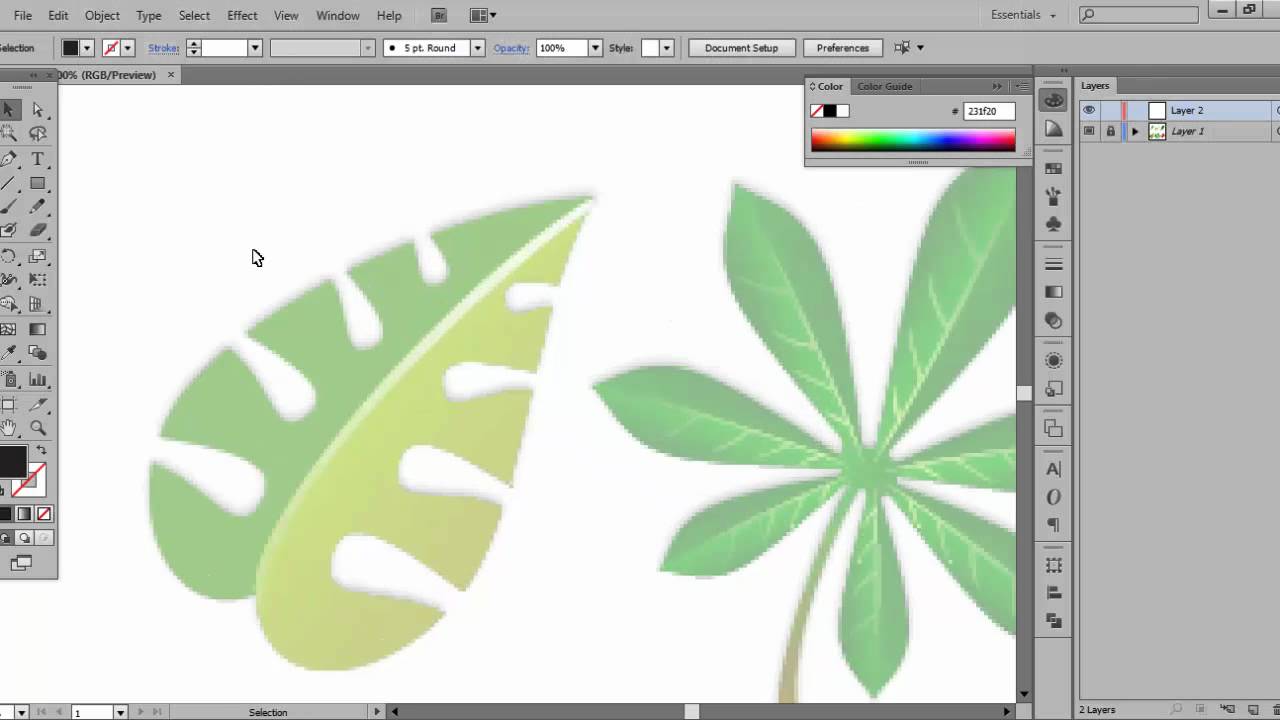
2. Creating illustrations Creating illustrations is another specialty of Illustrator. Illustrations require drawing lines and filling in colors, and Illustrator’s feature is that this can be done easily. Illustrator is said to be suitable for drawing illustrations with clear lines, and allows you to draw each part one by one using straight lines and curves, and then combine them to create shapes.
3. Create and design layouts that combine text and images
Illustrator is also commonly used in the printing industry. This is the perfect software for creating posters and flyers. Designs that combine text and images are one of Illustrator’s strengths.
Related article:
What is line drawing? Introducing how to draw line drawing illustrations that even beginners can understand and stylish free line drawing material sites
Differences with Adobe Photoshop
Illustrator is an Adobe product that is often used by graphic designers, but Photoshop is also commonly used by graphic designers. For this reason, many people think that they are similar software, and many people wonder how to use them properly.
So, let’s check the differences with Photoshop.
Photoshop is an image editing software. It is mainly used as a software for “photo retouching” to edit and process photos.
In addition to being able to delicately adjust the brightness and color of photos, it also has a variety of photo editing functions, such as cropping photos, compositing them with other images, and removing unnecessary items from photos. I am. In addition to printed materials such as flyers and posters, you can freely design images for SNS and the web by combining photos, images, and text.
Now, let’s take a look at how Illustrator differs from Photoshop.
image format
As mentioned earlier, the image formats are very different. Illustrator can create vector format images, and Photoshop can create raster format images. Vector images do not change in image quality even if they are enlarged or reduced, and raster images become coarser in image quality when enlarged.
What I’m good at
We have different strengths. Illustrator is good at scaling up and down without destroying the shape. On the other hand, Photoshop is good at things like cropping and compositing photos, setting colors and brightness, and adding shading.
Suitable products
There are also differences in the types of productions that are suitable. Illustrator is suitable for designing logos and icons, and creating printed materials such as flyers and posters. On the other hand, Photoshop is suitable for processing and editing images, editing and compositing photos and illustrations, creating banners for websites, and designing web pages.
In this way, Illustrator and Photoshop are similar, but their image formats, strengths, and productions are different. Choose according to the product you are about to make.
Related article:
What are RGB and CMYK? Thorough explanation of the basics such as explanation of meaning and conversion method!
Learn the name and terminology of Illustrator
Before introducing how to use Illustrator, there are some terms and names that you should know. If you go over it thoroughly, it will go smoothly when you learn how to use it.
work space
A workspace is a general term for the place where you work that appears when you start Illustrator. This means that you must create a new workspace every time you start working. In that workspace, we create logos, designs, and other products.
The workspace is the base location, so you don’t need to pay particular attention to the name when creating.
path
↑This is an original image.
A path is a line that makes up a shape or illustration created in Illustrator. It is a path whether straight or curved. Basically, I draw a path using the pen tool.
There are other components to the path. For example, the path looks like “■” and “■” connected by a line. This end point “■” is called an “anchor point”, and the line is called a “segment”. In other words, a path is made up of segments connecting anchor points.
For curves, one more element is added. This is called a “direction line”. The direction line extends from the anchor point and is responsible for adjusting the angle of the curve. This direction line is sometimes called a handle.
anchor point
As mentioned earlier, anchor points are the endpoints of a path. Anchor points play an important role when manipulating paths. You can transform the shape by grabbing the anchor point with the mouse and moving it. Also, after selecting an anchor point, you can delete it or add another anchor point.
For example, a rectangle has four anchor points, but if you drag just one of them downward, you can move only the selected anchor point and transform the rectangle.
object
Objects refer to shapes such as lines, curves, and rectangles, illustrations, and text created in Illustrator. You can think of it as a general term for objects that can be handled in Illustrator. Objects have line and fill elements, and you can change or adjust the color of each.
layer
A layer is a sheet containing objects. Illustrator allows you to layer multiple transparent sheets to create a single figure or illustration. For example, when creating an illustration that mixes text and shapes, you usually create separate text and shape layers. Also, if you want to create a shape that has multiple shapes arranged, you can divide the shapes into layers and create a design by stacking them over many layers. This makes it easier to manage and edit even complex illustration designs.
When drawing illustrations in Illustrator, it is not always necessary to separate the layers. This is just for convenience. On the other hand, if you want to share your Illustrator files with others, or hand over your work to someone else, it will be easier to understand the structure if you separate them into layers. Of course, it’s not just a matter of finely dividing the layers. It is a good idea to layer it so that it is easier to change the design later.
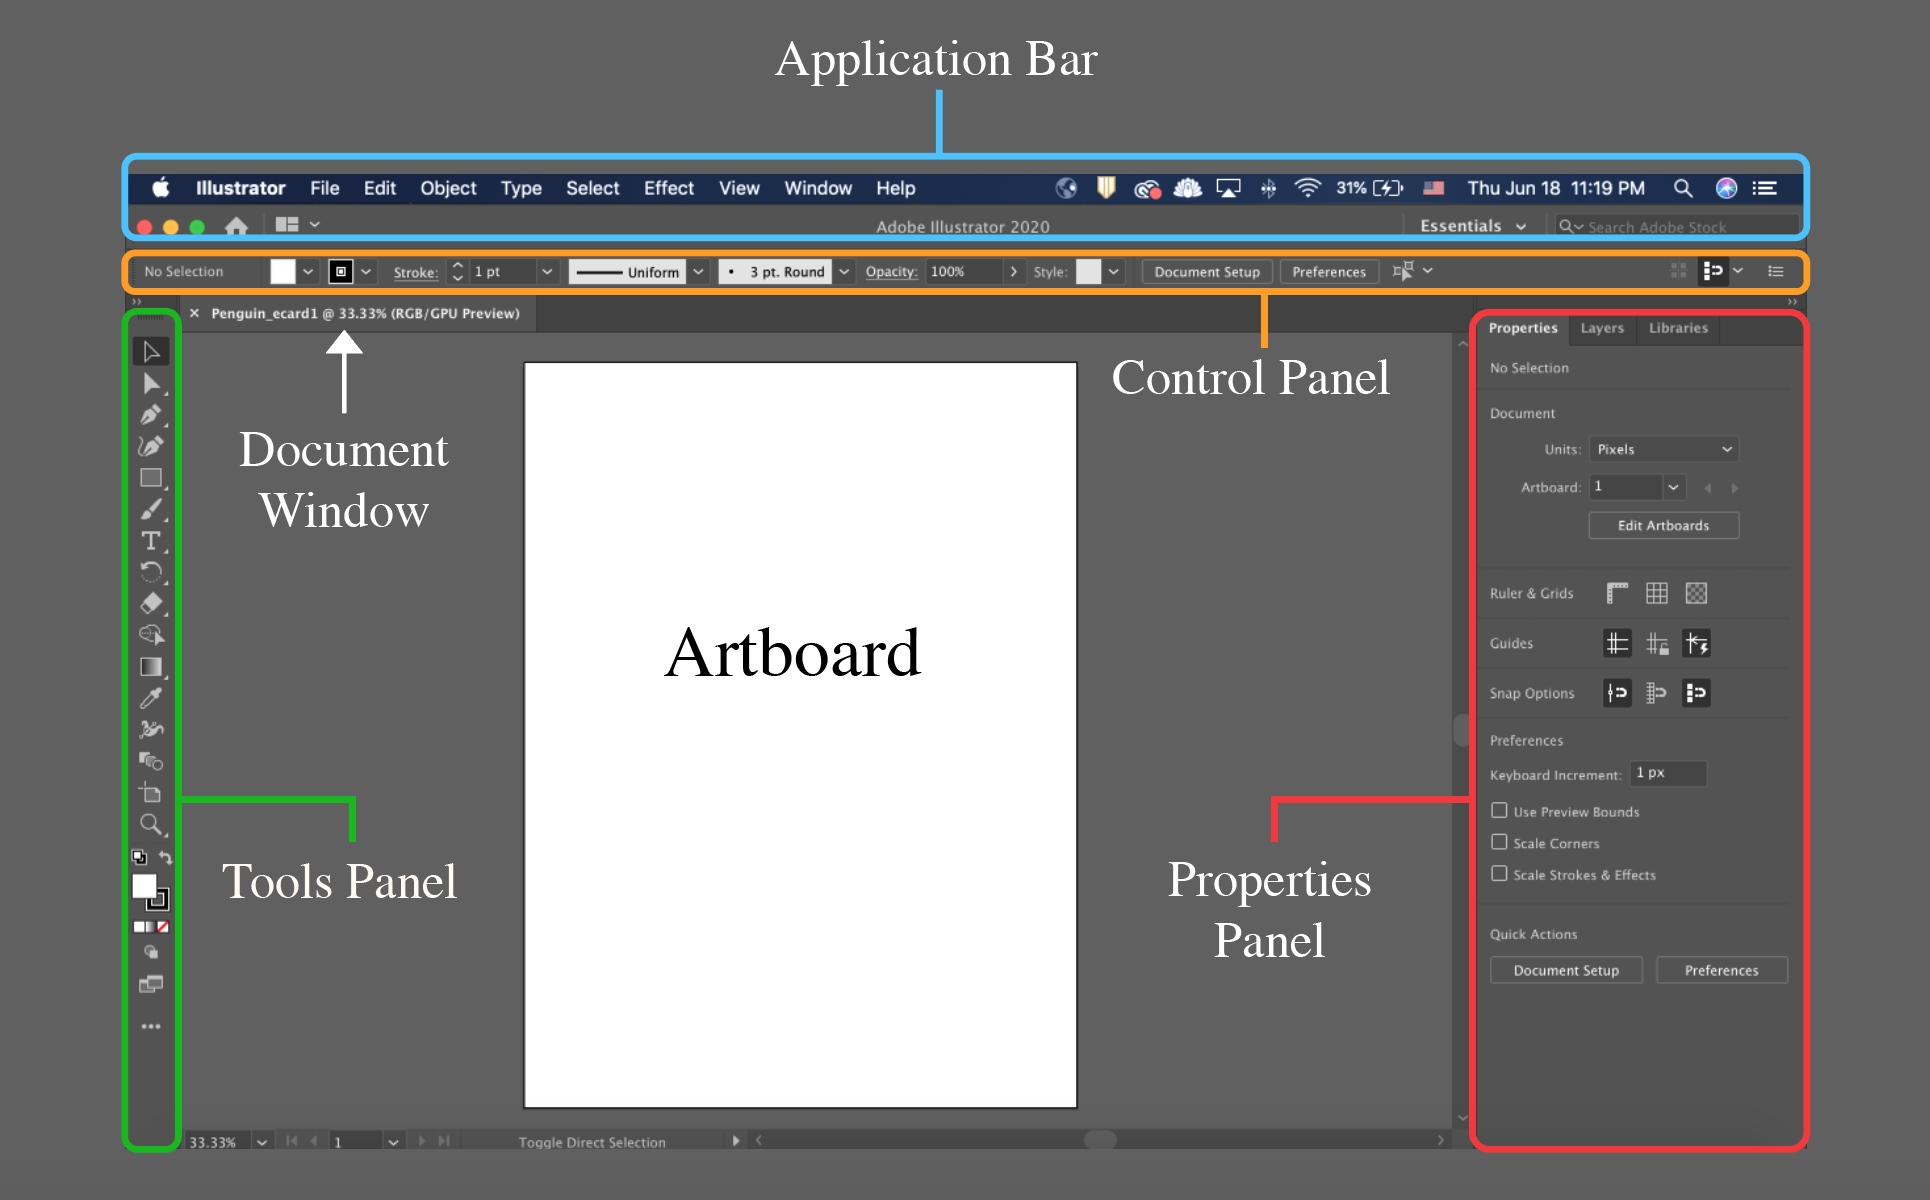
[Reference] Menu names For reference, let’s check the names of each menu in Illustrator. The numbers in each figure below correspond to the numbers in the explanation below.
(1) Menu bar The menu bar is located horizontally at the top of the screen. This menu bar allows you to save files, edit objects, format them, add effects, etc. There is also a menu that allows you to adjust your work environment.
(2) Toolbar The “Toolbar” is a vertical menu lined up on the far left of the screen. As the name suggests, the toolbar is a place where you can find the tools you use to create illustrations in Illustrator. In other words, it’s like a production toolbox.
In Illustrator, tools are divided into main categories: selection, drawing, type, painting, modifying, and moving.
For example, drawing tools let you draw and edit objects and paths. There is a Pen tool, a Pencil tool, an Add Anchor Point tool, a Delete Anchor Point tool, an Anchor Point tool, and a Curve tool. You can use the Pen tool when you want to draw polygonal lines or curves, or use the Pencil tool when you want to draw freehand paths similar to those drawn with a pencil.You can freely select depending on what you are creating.
(3) Control Panel The control panel is the horizontal section located below the menu bar. Here you can configure detailed settings for each tool. The control panel display changes depending on the tool selected on the toolbar. For example, when you select the pen tool on the toolbar, information such as “fill,” “stroke,” “line width,” and “brush” will be displayed in the control panel, so you can adjust it as you like while using the pen tool.
(4) Panel The panel is the part that is lined up vertically on the right side of the screen. Simply put, this is where you can set properties and layer settings. There are many types of panels. The most commonly used one is the “Layer panel”. You can check the overlap of layers at a glance. I also often use the “Color panel” to adjust colors and the “Character panel” to control text input. The panel contains useful menus, so you can work easily by selecting them.
(5) Document window The document window is where the document you are working on is displayed. This corresponds to the white canvas-like area in the center. We will draw on this document window.
Related article:
How to use GIMP? Explaining the functions of free image editing software
How to use Illustrator – Basic operations
Now, let’s take a look at how to use Illustrator. We will explain the basic operations.
Create new file
When creating a new design in Illustrator, it is always necessary to create a new file.
After starting Illustrator, select “New” from the menu on the left side of the screen. A screen will then appear where you can select the size of the file to be created or specify it numerically. Choose the size according to your usage.
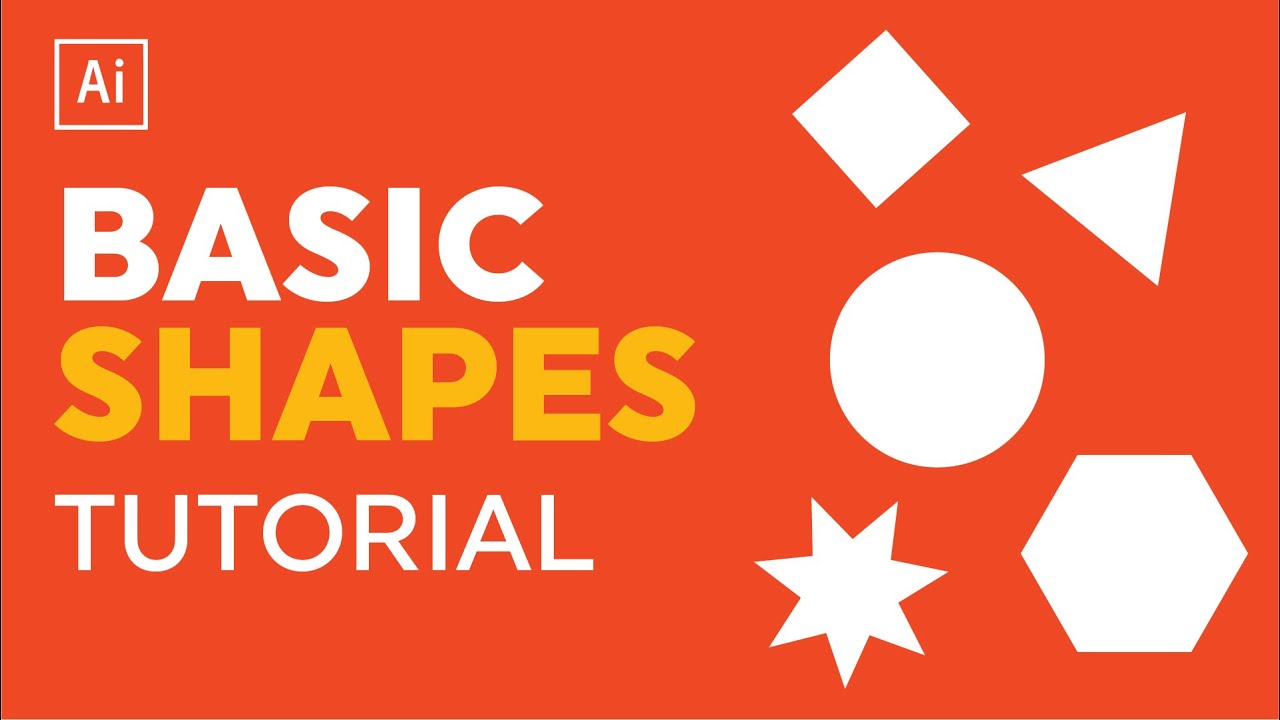
draw shapes
By using the shape tools, you can easily draw rectangles, circles, etc. To draw a rectangle, first select the Rectangle tool on the toolbar. Next, set the “fill” and “stroke” colors in the control panel or property panel. For example, if you want to draw a rectangle with black lines, set “Line” to black. You can also decide the fill of the rectangle, that is, the color inside.
You can easily create a rectangle by dragging it on the screen you want to create. To move the position, grab the center point and move.
You can also draw shapes other than rectangles. Try holding down the rectangle tool on the toolbar. Then, the rounded rectangle tool, ellipse tool, polygon tool, and star tool will appear, so select the tool for the shape you want to draw and create the shape in the same way as the rectangle tool.
draw letters
Text can be drawn using the text tool. You can enter characters in the same way as in a document editor such as Word, without having to draw or shape the characters with the pen tool.
Select the “Text tool” from the toolbar and click where you want to enter text. A text cursor will appear, and you can enter text using the keyboard.
You can choose the font, size, color, etc. of the text. You can also convert text into shapes by manipulating it.
change color
Once you decide on the shape’s color, you can change it. Let’s draw a rectangle using the rectangle tool from earlier. Click to select it, then change the “fill” color in the color panel. If you want no color, click the red diagonal square. This will leave it unpainted.
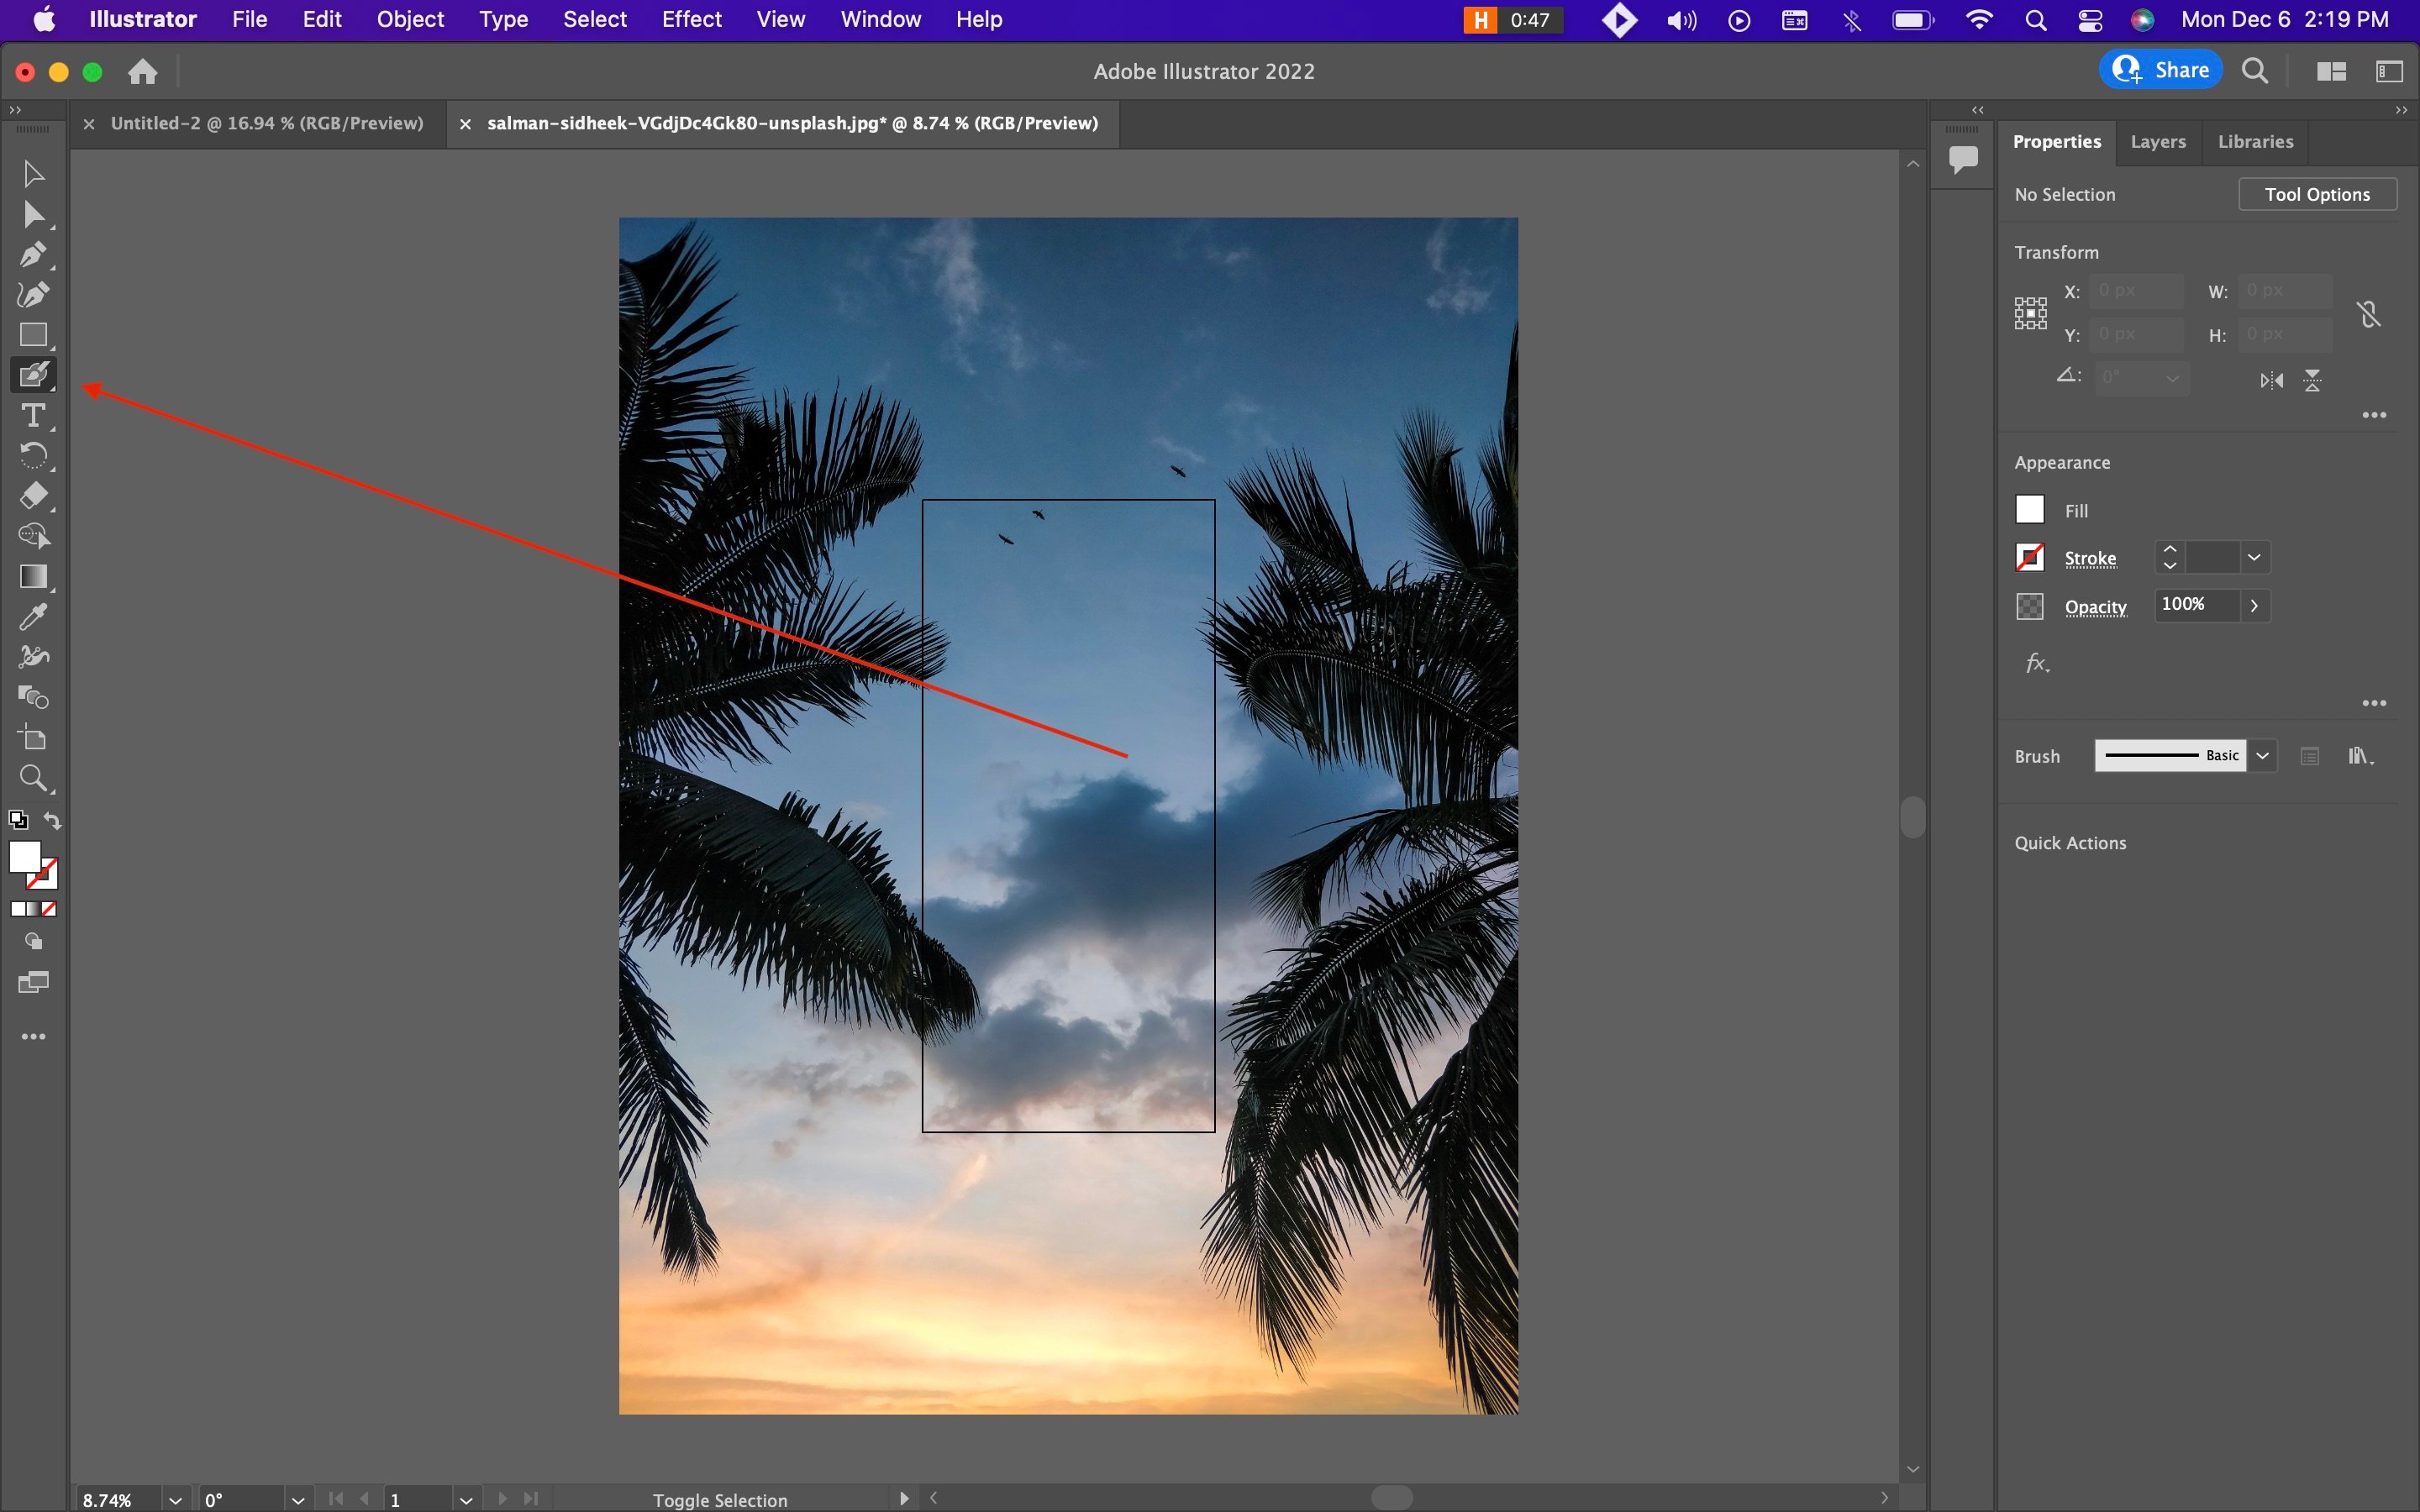
draw with pen tool
This time, let’s draw lines and create shapes ourselves. When you select the “Pen Tool” from the toolbar, the cursor will change to a pen shape.
To draw a straight line, click once on the point where you want to draw the straight line, release, and move the mouse.The line will extend in the direction you move. Click again to stop the line. Now you have one straight path. You can extend the line by clicking the endpoint, or anchor point, of the path. By extending the lines to the first anchor point and overlapping them, you can draw a shape surrounded by lines. With the Pen tool, you can draw lines by repeating the action of clicking and releasing, then clicking and releasing.
insert image
You can also insert images. You can refer to images on your computer and load them onto Illustrator.
Select “File” from the menu bar and select “Arrangement” from the menu that appears. Select the image you want to place and press the place button to insert the image on the screen.
At this time, you can choose between two insertion methods: “Embed” and “Link”.
Embedding is an image that is pasted directly onto Illustrator. On the other hand, I don’t want to paste the link directly into Illustrator, but only as a link.
The big difference is that embeds will show up in the preview screen, while links won’t show up in the preview screen. Links are also useful because if you edit the link source image, your edits will be reflected. On the other hand, if you change the position of the link source image, the link will break and will no longer be displayed in Illustrator.
Related article:
What is UI (user interface)? Meaning, role, and UI design points
Steps to start using Illustrator
Many people may be wondering where to purchase Illustrator if they want to start using it. Currently, Illustrator is not sold as a package at any store. It is provided as a subscription service of “Adobe Creative Cloud” provided by Adobe. This is a so-called subscription service, and by signing a contract, you can continue to use the service while paying a fixed fee, such as monthly or yearly payments.
Adobe Creative Cloud has a variety of software such as Photoshop, InDesign, and Dreamweaver in addition to Illustrator provided by Adobe, and you can contract for Illustrator alone or contract for multiple software including Illustrator at the same time. You can also.
Currently, there are two plans that individuals can subscribe to in order to use Illustrator: the “Single Plan” and the “Complete Plan.”
[Single plan]
A standalone plan is a plan that allows you to select and use only one app from Photoshop, Illustrator, InDesign, Acrobat, Premiere Pro, After Effects, etc.
The list price for Illustrator is 2,728 yen (tax included) per month.
[Complete plan]
The Complete plan includes all 20+ desktop and mobile apps. It claims to have over 20 apps, including Photoshop, Illustrator, InDesign, Acrobat, Premiere Pro, After Effects, Audition, Adobe XD, and Dimension.
The list price is 6,480 yen (tax included) per month.
Carefully consider which one has the best cost performance and choose.
Contract method
If you would like to subscribe to Adobe Creative Cloud to use Illustrator, first visit the Adobe official website, press the purchase button, and follow the instructions to apply.
Payment methods currently available include credit card payment, convenience store payment, bank transfer, and invoice payment (group version only).Individuals can pay by credit card, convenience store payment, or bank transfer.
However, in the case of an individual contract, please note that there are conditions, such as convenience store payments and bank transfers, which must be in the annual plan (lump sum payment).
If you want to start using the service quickly, paying by credit card is a good option.
Related article:
How to learn Illustrator for beginners
If you want to take this opportunity to learn Illustrator, please use effective learning methods to proceed with your learning. Here are some recommended learning methods.
1.Adobe official “Illustrator tutorial”
Source:
https://helpx.adobe.com/jp/illustrator/tutorials.html
Adobe provides texts and videos that help beginners learn how to use Illustrator. The difficulty level is also indicated by a star mark, so try the ones that even beginners can learn first.
2. Introductory book Generally, it is said that it is a bit difficult for beginners to start using Adobe official tutorials. This is because many of the official Adobe tutorials provide explanations on the assumption that you know the basics. If you want to learn the basics first, please refer to “Introduction to Illustrator [CC/CS6/CS5] (Introduction series)” and “Introduction to Illustrator CC compatible”.
3. Online learning Recently, there are ways to learn while taking online courses, and Illustrator courses are also being held. For example, Udemy offers several courses for beginners, so be sure to take advantage of them.
Related article:
What is decorative design and functional design? Web design direction required by marketers
summary
- Adobe Illustrator is a piece of software produced by Adobe, an American manufacturer of image editing and other software. It can be used to create designs for logos, illustrations, web content such as banners and SNS posts, and printed materials such as business cards, flyers, and posters.
- Illustrator allows you to create vector images. You can create logos, illustrations, and create and design layouts that combine text and images.
- The image format is very different from Photoshop. Illustrator can create vector format images, and Photoshop can create raster format images. The image quality of vector images does not change even if they are enlarged or reduced, and the image quality of raster images becomes coarser when enlarged. Illustrator is suitable for designing logos and icons, and creating printed matter such as flyers and posters, while Photoshop is suitable for processing and editing images, editing and compositing photos and illustrations, creating banners for websites, etc. Suitable for web page design, etc.
- It is a good idea to master how to use Illustrator and the basic operations of creating a new file, drawing shapes, drawing text, changing colors, drawing with the pen tool, and inserting images.
- Recommended ways for beginners to learn Illustrator include official Adobe tutorials, introductory books, and online learning methods such as Udemy.