

File formats required when creating videos. There are various types of formats, and each format has different characteristics. Even if you understand the outline of video files, there may be few people who understand the detailed format of video files.
Also, when trying to understand more about video files, you will come across various terms related to video files, such as “extension,” “container,” and “codec,” but not many people can clearly explain these terms. I think so.
In this article, we will explain the details of video files, the types of extensions, and recommended video file formats for each scene. Please feel free to use this as a reference for future video distribution and editing.
What is a video file?
A video file is a file that contains video and audio. This was created to save video and audio at the same time, and allows you to save video and audio together in one file without having to handle them separately. Here, we will explain in detail about video files.

File containing video and audio
A video file is a file that contains video and audio. It is used for streaming on the web, distributing TV programs and movies, and storing images shot with home video cameras and smartphones. Although there are some formats that can handle video and audio separately, in general, video and audio are often saved together in one file.

What is the video file extension?
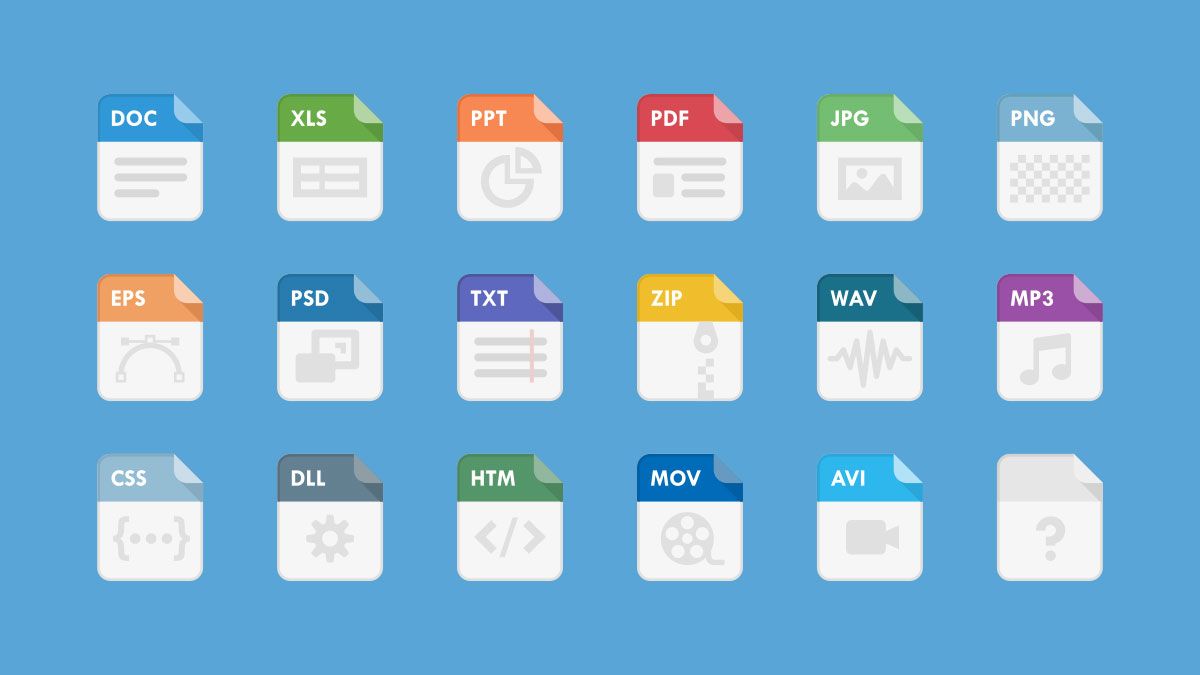
Video files have many extensions. Common ones include “.mp4”, “.avi”, “.mov”, “.wmv”, and “.flv”. These extensions are used to identify video files. For example, “.mp4” is a format called “MPEG-4 Part 14”, and “.avi” is a format called “Audio Video Interleave”.
/GettyImages-181944682-58e3af0a3df78c5162007a81-3cf8499c59d7463fac41e50bb9409103.jpg)
“Container” for video files
Video files are saved in a format that stores video and audio files in a container called a “container.” A container is a mechanism for managing files that combine video and audio, and can often be identified by the video file extension.
For example, “.mp4” files are created based on the MPEG-4 container format and store video and audio files together. Similarly, .avi files are created based on the Audio Video Interleave container format, which stores video and audio files together.
Video file “codec”
When creating a video file, you need to compress the video and audio. This is to reduce the size of video files and save storage space. The software that performs this compression is called a “codec.” Codecs contain
algorithms
for compressing and decompressing video and audio and are used when creating video files.
There are many types of codecs. Common ones include H.264, MPEG-4, VP9, and HEVC. These codecs differ in performance such as bit rate, image quality, and compression efficiency, so they should be selected depending on the intended use.
Also, when playing, you will need playback software that supports the codec. Common media players support many codecs, but some may not be supported.

Difference between “container” and “codec”

A “container” is something like a “container” for organizing media data such as video, audio, subtitles, etc. into a single file. In other words, it refers to a file format that stores media data.
Typical container formats include MP4, AVI, MOV, MKV, and FLV. Container formats contain the information needed to store and play media data, and playback software and devices can read this information to play media data correctly.
On the other hand, “codec” refers to software and algorithms that compress, convert, and expand video and audio. Compression allows you to reduce the file size of media data and save storage space. It is also effective when there are communication speed limitations such as streaming distribution or web conferencing. Typical codecs include H.264, H.265, VP9, AVC, AAC, and MP3.
Simply put, a “container” is a file format, and a “codec” is software that compresses and converts the media data within the file. Although container formats and codecs are treated separately, they are both essential elements for video files, and it is important that both have high performance.

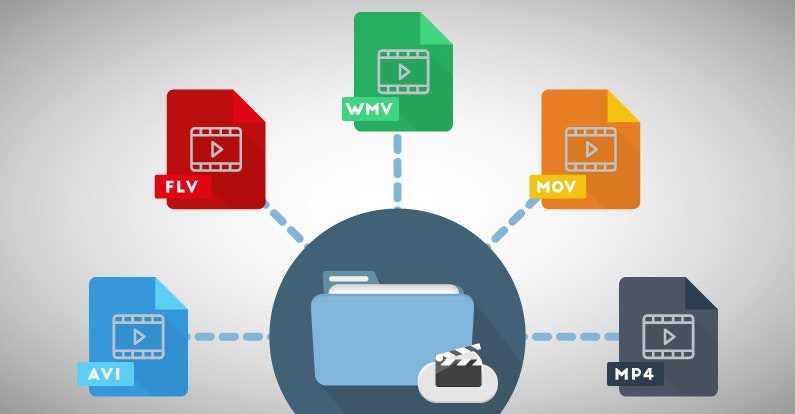
Video file extension types
Video files have various extensions. Here we will explain the following five typical extensions.
MP4 (.mp4)
MP4 is one of the most common video file extensions. It is based on the MPEG-4 Part 14 standard and can store video and audio simultaneously. It has high compression efficiency and excellent image quality, making it suitable for distribution on the web. It is also commonly used on devices such as smartphones and tablets.
AVI (.avi)
AVI is a video file extension developed by Microsoft. It can store video and audio simultaneously and is suitable for playback on Windows. However, due to its low compression efficiency and large file size, it is not well suited for distribution on the web.
MOV (.mov)
MOV is a video file extension developed by Apple. It is optimized for playback software called QuickTime, and is often used on Macs and iOS devices. It can store video and audio simultaneously and has high image and sound quality.
WebM (.webm)
WebM is a video file extension developed by Google. It is a format suitable for distribution on the web, and uses an open source codec called VP8. It has high compression efficiency and excellent image quality, making it suitable for playback on a browser.
FLV (.flv)
FLV is a video file extension developed by Adobe. It has high compression efficiency and is suitable for streaming playback. It is also often used for distribution on the web, but recently it has been replaced by WebM and MP4.
Recommended video file formats for each scene
There are several types of video file formats, each with its own purpose. Here, we will introduce recommended video file formats for each scene.
If you want to distribute videos on your own website, use MP4 or FLV.
When distributing videos on your company’s website, the file formats mainly used are MP4 and FLV. These file formats are widely used, so most users can play them, and streaming technology allows for smooth video playback.
FLV is a file format developed by Adobe that allows you to compress high-quality videos and save them in relatively small file sizes. Additionally, FLV can be played with Adobe Flash Player and is suitable for streaming playback. These file formats are supported by many video players, so we recommend choosing MP4 or FLV formats when distributing videos on your company’s website.
If you want to upload videos to YouTube, use MP4, AVI, WebM, FLV.
When uploading videos to YouTube, the file formats used include MP4, AVI, WebM, and FLV. Although YouTube supports many file formats, some file formats may not be suitable depending on the playback speed and quality of the video.
MP4 can compress high-quality videos, thus reducing file size. AVI is also a widely used file format that can be played on many video players. WebM is an open file format developed by Google that allows you to compress high-quality videos. FLV is a file format suitable for streaming playback and can be played with Adobe Flash Player.
When uploading videos to YouTube, we recommend choosing the widely used formats MP4, AVI, WebM, and FLV.
MP4 if you want to upload it to SNS
When uploading videos to SNS, the file format mainly used is MP4. MP4 can compress high-quality videos and save them in relatively small file sizes. Additionally, many SNS services support MP4 format, so uploading can be done smoothly.
Additionally, if you plan to distribute your video on a specific
platform
, it’s important to choose a file format recommended by that platform. For example, Facebook recommends videos in MP4 format.
Furthermore, in addition to the video file format, settings such as bit rate and resolution need to be adjusted to suit the distribution destination. In particular, bitrate is directly linked to image quality, so it is important to set the optimal value according to the distribution destination environment.
If you are editing videos by yourself, choose a video file format that matches the type of OS you will be working on.
When editing videos personally, it is important to choose a video file format that matches the operating system you are working on. When editing videos using Windows, the AVI format is said to be the best. AVI is an uncompressed format that can be edited without sacrificing image quality, making it suitable when high quality is required.
On the other hand, if you want to edit videos using Mac, MOV format is recommended. MOV is a video file format developed by QuickTime and can be played with QuickTime Player, which comes standard with Mac. In addition, it is an uncompressed format that is easy to edit, and it can be edited without losing quality.

If you want to change the video file format
If you want to convert a video file, for example, you may need to convert it to a certain format in order to edit the video, or you may need to convert it to another format to play it on a specific device. Therefore, we will explain how to convert video file formats.
Software for converting video file formats
To convert video file formats, you need to use specialized software. You can also convert videos online, but due to privacy and security issues, we recommend using reliable software.
Also, some software is free, but there are concerns that free software may take a long time to convert or the image quality after conversion may deteriorate, so if you use it often, you may want to install paid software. You should think about it.
How to convert video file formats
The method for converting video file formats varies depending on the software, but generally follows these steps:
1. Download and install the software.
2. Launch the software and select the video file you want to convert.
3. Select the format you want to convert to.
4. Configure conversion settings. This includes bitrate, resolution, frame rate, etc.
5. Start the conversion.
6. Wait until the conversion is complete.
7. Once the conversion is complete, save the converted file.

How to reduce the size of video files
The higher the image quality and sound quality of a video file, the larger its capacity. However, its large capacity affects the transfer speed and playback smoothness when streaming videos, so it is necessary to reduce the capacity. Therefore, we will introduce a method to reduce the size of video files.
The following methods are available to reduce the size of video files.
Convert to codec with high compression rate
One way to reduce the size of a video file is to convert the codec of the video file. You can reduce the size of the video by converting it to a codec with a high compression rate.
A codec with a high compression rate can save a smaller file size even when saving the same quality video. However, increasing the compression rate may reduce image and sound quality. Therefore, when choosing a codec, you need to consider the balance between image quality and sound quality.
Generally, codecs with high compression rates include H.264, H.265, and VP9. H.264 has high compression rates and excellent image quality, and is used on many devices and platforms. H.265 has a higher compression rate than H.264 and is suitable for handling 4K and 8K high-resolution video. VP9 is a codec developed by Google and widely used on video sharing sites such as YouTube.
However, high compression rates can significantly reduce video quality. Therefore, if you increase the compression rate too much, the image quality of the video may deteriorate, making it no longer worth watching. It is important to set an appropriate compression ratio.
lower resolution
Lowering the video resolution is one way to reduce the size of the video file. The higher the resolution, the higher the definition of the image and the larger the video file size. By lowering the resolution, you can reduce the size of the video file.
However, lowering the resolution also lowers the image quality, so you need to think carefully about how much to lower the resolution. For example, for videos distributed online, a resolution of around 720p (1280 x 720) or 1080p (1920 x 1080) is generally recommended. However, if you are watching on a small screen such as a smartphone, a lower resolution is sufficient.
reduce bitrate
Bitrate is an indicator of the compression rate of a video. The higher the bitrate, the higher the quality of the video, but it also increases the file size. By lowering the bitrate, you can reduce the size of the video file.
Lowering the bitrate can reduce the file size of your video, but it may reduce the image quality. At a low bit rate, the amount of video data is reduced, which may result in uneven video, block noise, or jerky motion. Therefore, when lowering the bitrate, it is necessary to consider the balance of image quality.
One way to lower the bitrate is to adjust the bitrate in the video encoding settings. In addition to bitrate, you can also adjust video encoding settings such as resolution, frame rate, and codec. When lowering the bitrate, be sure to check the video quality and set an appropriate bitrate.
Also, when lowering the bitrate, you need to set an appropriate bitrate depending on the video content. For example, for still images or slideshows with few screen transitions, lowering the bit rate will not affect the image quality, so you can reduce the file size. On the other hand, if there is a lot of movement, such as a video with many action scenes, lowering the bit rate too much will have a negative effect on the image quality, so it is necessary to set an appropriate bit rate.
reduce frame rate
Frame rate is a measure of the number of images a video displays per second. The higher the frame rate, the smoother the video, but also the larger the file size. By lowering the frame rate, you can reduce the size of the video file.
By lowering the frame rate, you can reduce the file size of your video, but it may reduce the smoothness of the video. If the frame rate is low, the movement of the video will become choppy, so lowering the frame rate may not be appropriate depending on the content of the video. Therefore, when lowering the frame rate, it is necessary to consider the balance between video smoothness and file size.
Also, be aware that lowering the frame rate will increase the video playback time. For example, converting a 30fps video to 15fps will double the video playback time. Therefore, when lowering the frame rate, you must be careful not to make the playback time too long.
cut unnecessary parts
To cut unnecessary parts, you can shorten the length of the video and reduce the file size by deleting unnecessary parts by editing the video. Unnecessary parts refer to parts that have no added value for the viewer, such as the part where the title or logo is displayed at the beginning, the end credits at the end, or unnecessary scenes due to shooting errors.
By cutting out unnecessary parts, you can improve the ease of viewing the video and its ability to attract interest, and you can also create a compact video like a digest version. In addition, by deleting unnecessary parts, you can save the necessary storage space, and you can transfer and share video files smoothly.
However, care must be taken when cutting unnecessary parts. For example, if audio is cut, it is necessary to perform audio transition processing so that the cut part sounds natural. Additionally, cutting may cause problems such as making it difficult to understand the storyline, disrupting the flow, and making unnatural cuts noticeable. Therefore, before cutting, be sure to understand the overall picture and choose the appropriate place to cut.
summary
In this article, we have explained the types of video file extensions, recommended video file formats for each scene, and ways to reduce the size of video files.
Video file extensions include MP4, AVI, MOV, WebM, and FLV, each with different characteristics. If you want to distribute videos on your own website, use MP4 or FLV. MP4, AVI, WebM, FLV when uploading videos to YouTube. When uploading to SNS, we recommend using MP4. Also, if you are editing videos by yourself, you will need to select a video file format that matches the type of OS you are working with.
We also introduced ways to reduce the size of video files. There are various ways to do this, such as converting to a codec with a higher compression rate, lowering the resolution, lowering the bitrate, lowering the frame rate, cutting unnecessary parts, and deleting audio tracks. However, reducing the capacity may reduce the image quality, so please consider carefully before doing so.
By selecting the appropriate extension and format for your video files, you can distribute videos efficiently and smoothly. Also, reducing the size of video files will improve the loading speed of your site and reduce stress for users. Please feel free to use this as a reference for future video distribution and editing.