
? Explanation from concept to setting")
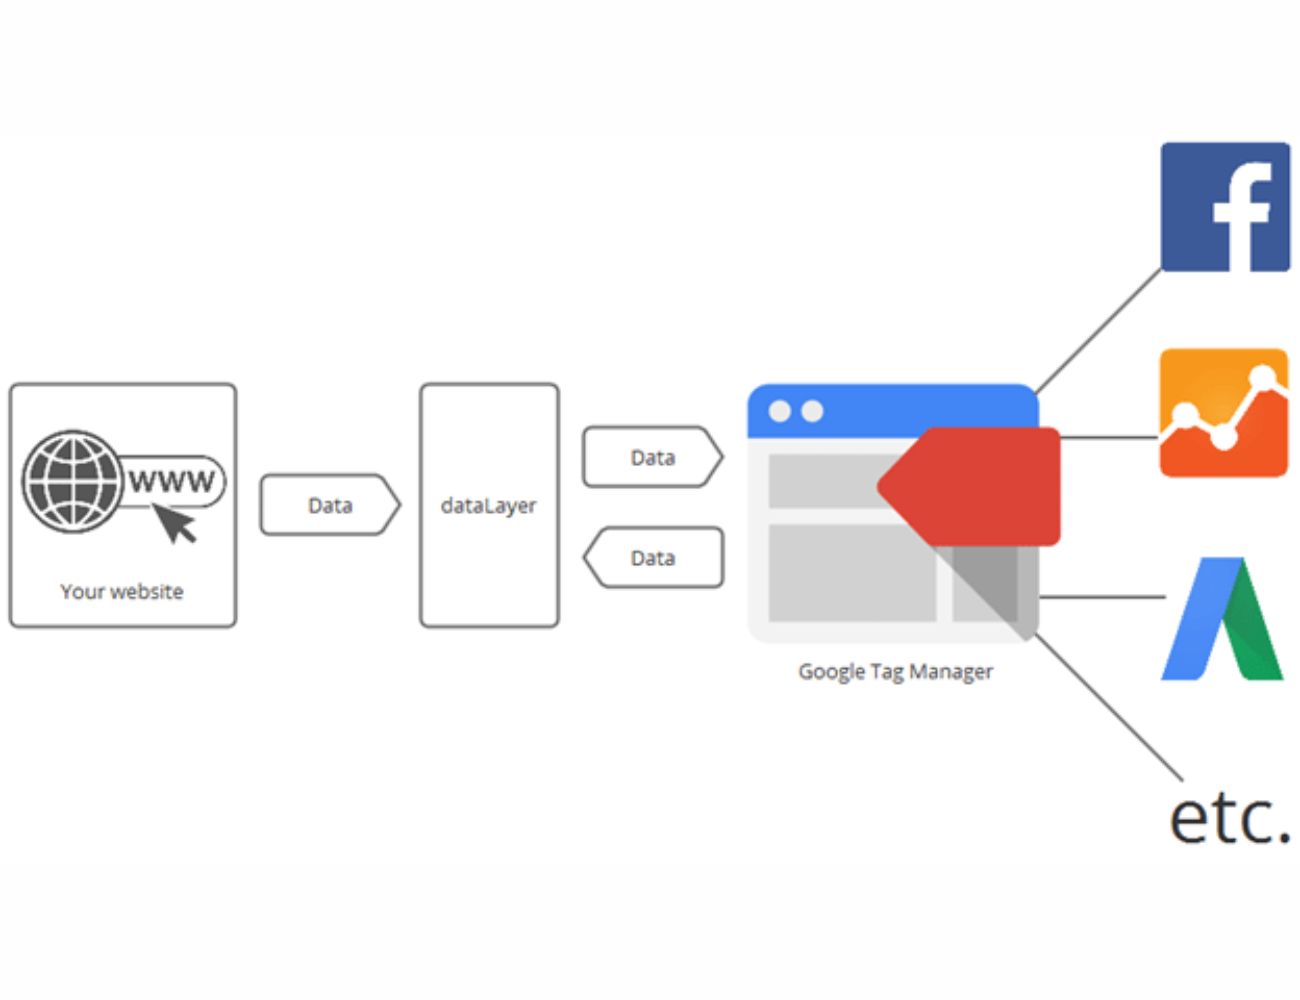
Tags are necessary for access analysis, etc., but adding or deleting tags usually requires editing the HTML. GTM is a tag management tool provided by Google. In addition to being able to place tags on websites,
homepages
, listing advertisements, etc., GTM’s role is to measure the results and manage them all at once.
In this article, we will explain the basic concept of GTM, how to use it, initial settings, etc., so please use it as a reference.
What is GTM?
As mentioned above, GTM is a tag management tool provided by Google. It is available for free to all users as long as they log in, and there is no need to manage complex
HTML
, making it a favorite of many access analysts and
marketers
.
GTM is also characterized by regular feature updates. Until a few years ago, when editing one part, it was necessary to modify the entire page, but as of 2021, it is now possible to partially modify only the part you want to modify.
In other words, the advantage of using GTM is that correction work and tag measurement can be made more efficient, and analysis and improvements can be made immediately.
Basic understanding of GTM
Up to this point, we have provided an overview of GTM. From here on, we will explain the terms you need to remember and their meanings as a basic understanding of GTM.
account
An account
refers to a group that manages containers, which will be described later. Basically, in most cases, one company manages one account. In other words, even if one company owns multiple websites, there will only be one account. On the other hand, if one website is managed by two companies, there will be two accounts.

container
Refers to a homepage that uses GTM (installs a tag). It is common to use one container per homepage. Alternatively, there are cases where containers are divided by domain.

work space
A workspace is a working environment in a container where you can change and modify GTM settings. The free version of GTM allows you to use three workspaces simultaneously for one container.
The important thing to note about workspaces is to separate workspaces for each homepage or task. This is because due to the way workspaces work, changes to one setting will be reflected in similar workspaces at the same time. In other words, even though two people are in charge of each modification, if one person saves the settings, the work the other person is doing may be adversely affected. I can’t.
To prevent this from happening, be sure to set up a workspace for each homepage or task.

tag
A tag
, as the word suggests, refers to a tag placed on a page. It works when
the trigger
described later is pulled.
trigger
A trigger is a function that specifies the conditions for a tag to be triggered. Some simple examples include “timing of conversion” and “timing of inquiry.”
Trigger conditions can be determined by combining multiple elements depending on the purpose.
variable
A variable is a condition that can change depending on the situation at the time. For example, on an
e-commerce
site with a large number of products, the purchase price will vary depending on each product, so variables for each product will be required.
Variables can be set as tag measurements or trigger conditions.
version
A version is a feature that allows you to save tags, triggers, and variables in the state they were in when they were created. Since GTM repeats analysis, you may need to change the settings from time to time.
In such cases, things like “I want to revert to the version that was set in the past” often occur, and the version function is used as a function to solve these problems.
What is YMT (Yahoo Tag Manager)?
TM (Yahoo Tag Manager) is a tool that allows you to easily manage, place, and update your website by installing dedicated tags.
YTM is a script or piece of code that is used to track visitor behavior and is also used to measure the effectiveness of advertising and marketing campaigns.
The features and functions of YTM (Yahoo Tag Manager) are as follows.
Differences with GTM
YTM (Yahoo Tag Manager) and GTM (Google Tag Manager) are both tools for managing website tags.
However, there are some differences, which I will explain in detail.
1. Supported ecosystem
YTM: Its strength is its integration and cooperation with Yahoo advertising and analysis tools. This is especially beneficial if you are using the Yahoo! advertising platform.
GTM: Easy integration with Google Analytics, Google Ads, and many other Google products and third-party tools.
2. User interface and ease of use
YTM and GTM are both huge platforms, so there are differences in user interface, but there is no doubt that they are easy to use.
3. Create custom tags
YTM: There is a function that allows you to create specific custom tags, but there may be limitations on detailed and detailed customization.
GTM: Contrary to YTM, it is highly customizable. Easily embed custom HTML tags and JavaScript. More advanced tag management and customization are possible.
Advantages of implementing GTM
There are four benefits of implementing GTM:
1. Tags can be managed centrally
2. Prevents page display speed from slowing down
3. You can freely set the GTM tag installation location
4. You can check the operation with GTM preview before publishing.
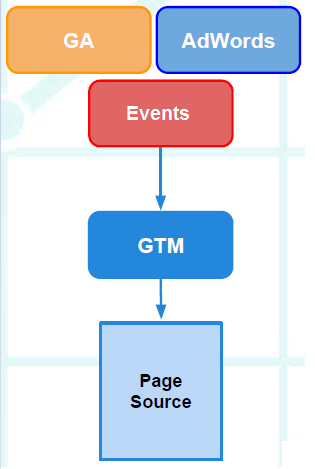
Tags can be managed centrally
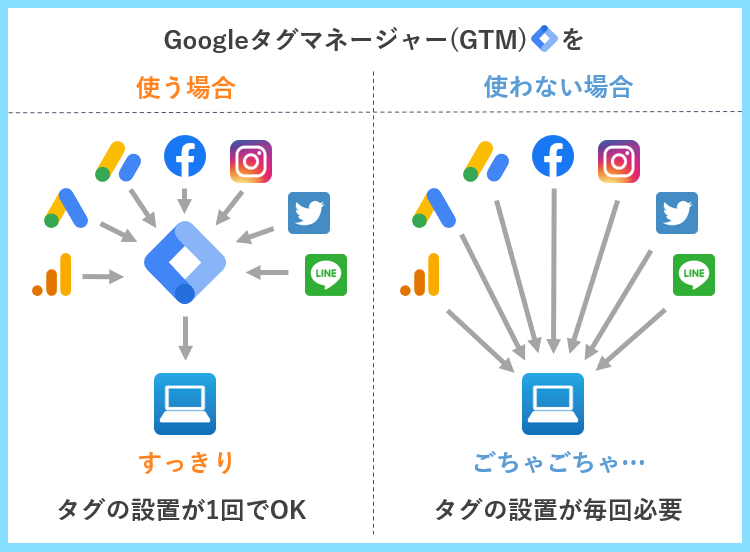
By introducing GTM, it is possible to manage multiple tags at once. If you have not installed GTM, you will need to set tags in the HTML of your page. Managing tags can be complicated if you use multiple tags or place tags on different pages.
With GTM, you can manage a list of when and where tags were installed. In addition to making tag management more efficient, it also eliminates the hassle of editing HTML, which will lead to a reduction in work costs.
Prevents page display speed from slowing down
The more tags you set in your HTML, the slower the page will display. On that point, tags installed with GTM are processed separately from page loading, making it unlikely to affect display speed. Since display speed is also evaluated by Google, there are great benefits to implementing GTM.
You can freely set the GTM tag installation location.
One of the benefits of implementing GTM is that the person in charge can freely set tags. Since there is no need to edit HTML, even people who do not normally use HTML can easily set it up.
It can take some time for tag settings and changes to take effect, especially if you outsource the management of your site. By introducing GTM, such time lags can be prevented and there will be no need to outsource tag settings, which will also reduce costs such as outsourcing fees.
You can check the operation with GTM preview before publishing.
GTM has a preview mode that can be used to check operation before publishing. If your site has a lot of traffic, it may be difficult to test publish a page. By using GTM, you can check the operation of tags with a preview, so you can prevent configuration errors after publication.

GTM introduction and initial settings
Up to this point, we have explained the outline of GTM and the meanings of the basic words that are often used. From here, we will explain the introduction and initial settings of GTM.
Login to GTM
To use GTM, you must first log in to GTM. Visit
the GTM official website
and click the button that says “Log in to Tag Manager.” Then, several input items for registering an account will be displayed, so enter them in order.
Please note that the default setting for GTM is the United States of America, so don’t forget to change it according to the region you are using.
Container settings
After completing the various input items mentioned above, move on to the container settings. Container settings are the part you want to make sure to ensure in order to measure tags, so be sure to follow the steps.
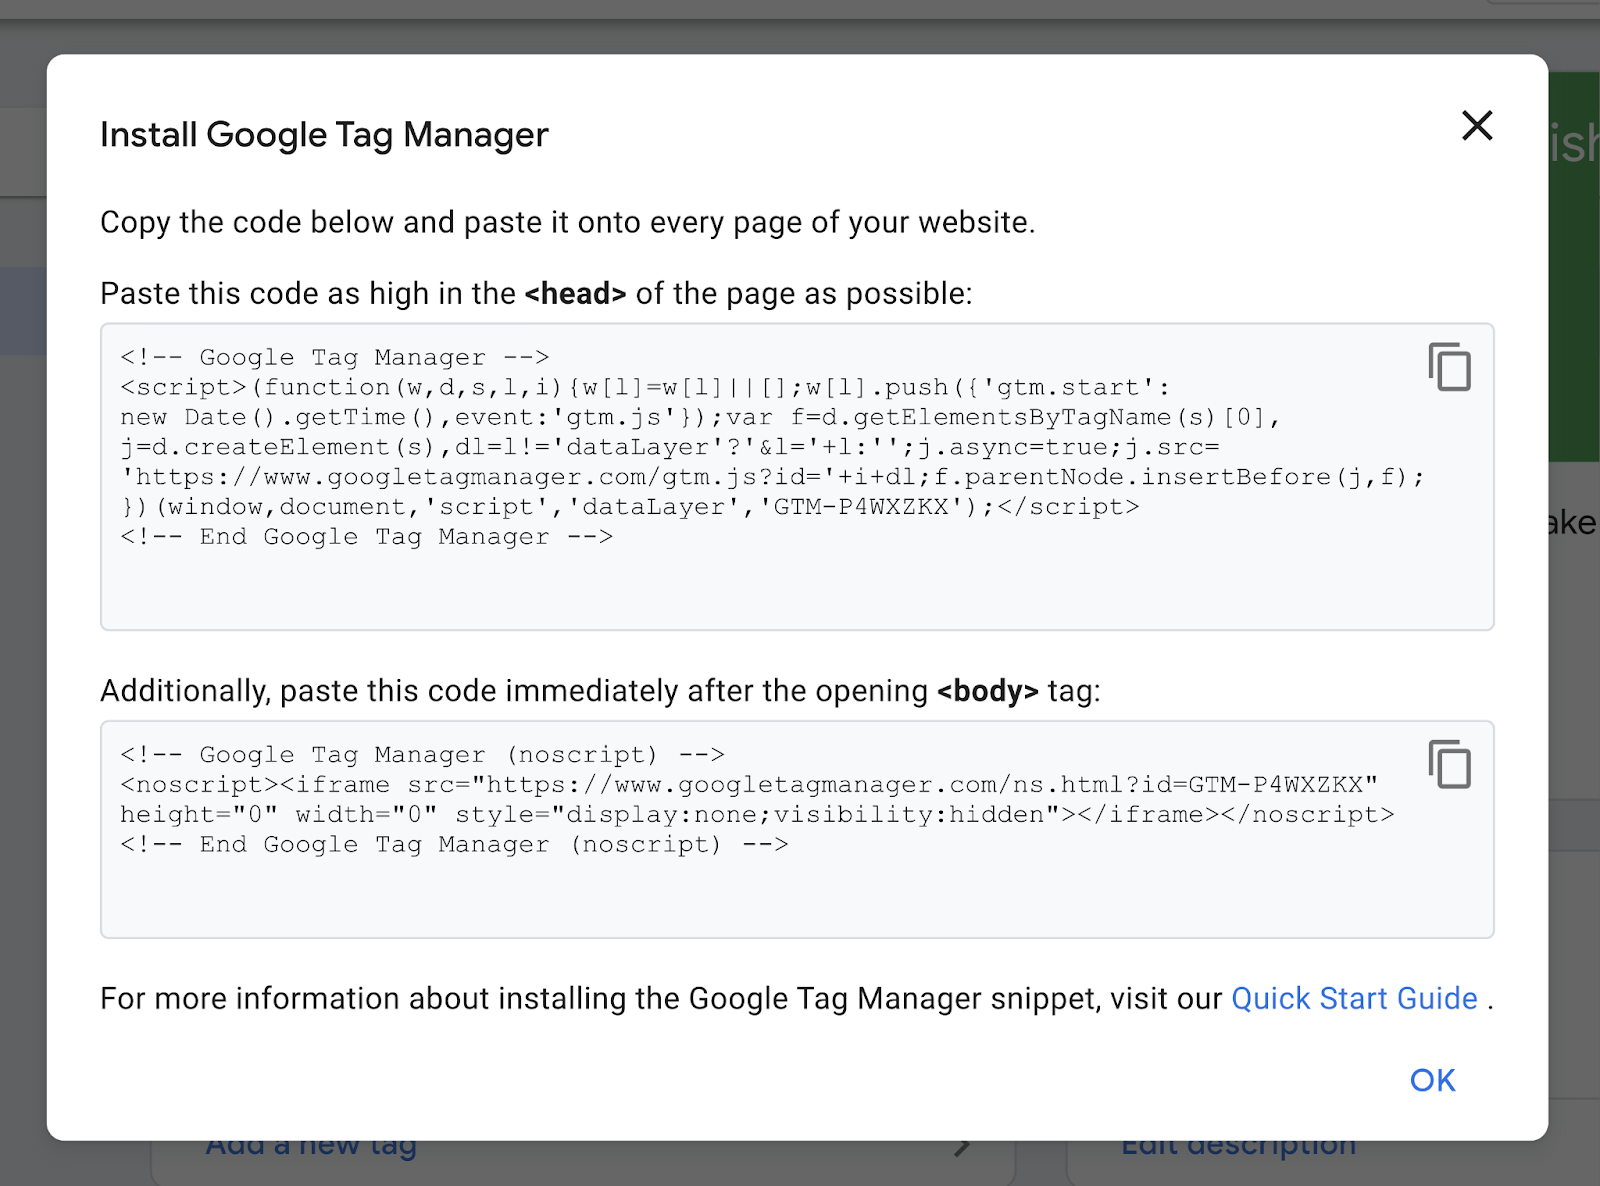
First, when you enter your username and country to use GTM, a button that says “Agree to the Terms of Use” will be displayed, so please confirm this before installing. Then, tags that can be used for measurement will be issued, so copy them somewhere.
Embed the code on the page you want to measure
Once you have completed copying the tag mentioned above, embed the tag (code) in the page you want to measure. There are two types of codes: one to paste directly under the head and one to paste under the body, so be careful not to make a mistake in each.
Once you embed the code in the page you want to measure, measurement will begin as soon as possible, or within a few hours to a day at the latest.
Let’s also integrate with Google Analytics
Once you have completed the settings up to this point, you will be able to measure the effects on the GTM workspace. You can also obtain more detailed data by linking tags with Google Analytics.
Google Analytics, like GTM, is an access analysis tool provided by Google that allows you to see what actions users take on a page. The steps to link GTM and Google Analytics are as follows.
1. Click on the workspace
2. Click Add new tag
3. Tag settings
4. Click on Universal Analytics
5. Select “All Pages” for trigger
Once you complete these settings, you can see minute-by-minute visits, active users, top active pages, and more. By analyzing them and improving the fixes found, you will be able to update your homepage to be preferred by both users and search engines.

How to configure GA4 with GTM
GA4 is the next generation version of Google Analytics, an access analysis tool. GTM and GA4 are both products of Google, and are characterized by good compatibility and ease of use. GTM comes with GA4 tags by default, so you can use them conveniently. Here, we will introduce the flow of setting up GA4 with GTM.
1. Create GA4 property and check measurement ID
2. Set tag name in GTM
3. Click “Google Analytics: GA4 Settings”
4. Enter the measurement ID of GA4
5. Select “Initialize” as the trigger
Once the settings are complete, check if the tags are enabled in the preview, and if there are no problems, click the Publish button.
Points to note when implementing GTM
So far, we have explained the overview of GTM and how to link it with Google Analytics. From here, I will explain two things to keep in mind when implementing GTM.
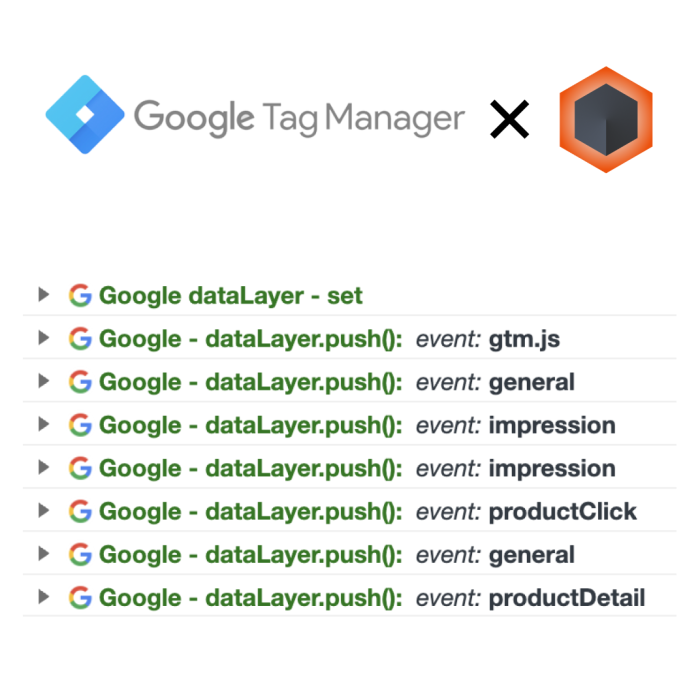
- Extension function is required to confirm tag firing.
- Check the tag installation page
Let’s look at each in turn.
Extension function is required to confirm tag firing.
First, in order to check whether the tag installed with GTM is functioning properly (firing), you need a Google Chrome extension. The extension can be downloaded for free below.
Tag Assistant Legacy (by Google)
If you do not download and enable the above, you will not be able to confirm that a fire has occurred even if the tag is installed correctly. Therefore, we recommend downloading it before installing tags.
Check the tag installation page
The second thing to keep in mind is to check whether it is installed correctly on the page you want to install it on. A common mistake is when you want to measure a thanks page, but it is placed on the previous page.
If you make a mistake like this, you will obviously not be able to measure your thank you pages, and you will not be able to improve the effectiveness afterwards. Additionally, you may decide that the conversion rate of your thank you page is low, and end up spending money on things that aren’t really necessary to strengthen your content.
When installing tags in GTM, always keep in mind that you need to make sure that you have placed them in the correct location on the correct page.
Summary: Let’s start access analysis with GTM
We have explained the overview, basic understanding, and initial settings of GTM. Although GTM is a free access analysis tool, it is equipped with so many excellent functions that you may be confused about how to use it.
You can also obtain more detailed data by linking with Google Analytics. Why not start by registering with GTM in order to clearly identify areas for improvement on your company’s website or homepage?